Build using Jenkins & Deploy using Nife
Before proceeding further, lets install Jenkins on top of EC2 instance and Configure Jenkins.
Installation process on Jenkins can be done using these steps
To deploy to Jenkins we essentially need four things.- The application you want to deploy.
- A runnable copy of nifectl.toml
- A nife.toml file.
- Your Nife API Token.
On Jenkins, the CI/CD system takes care of the first requirement for you.
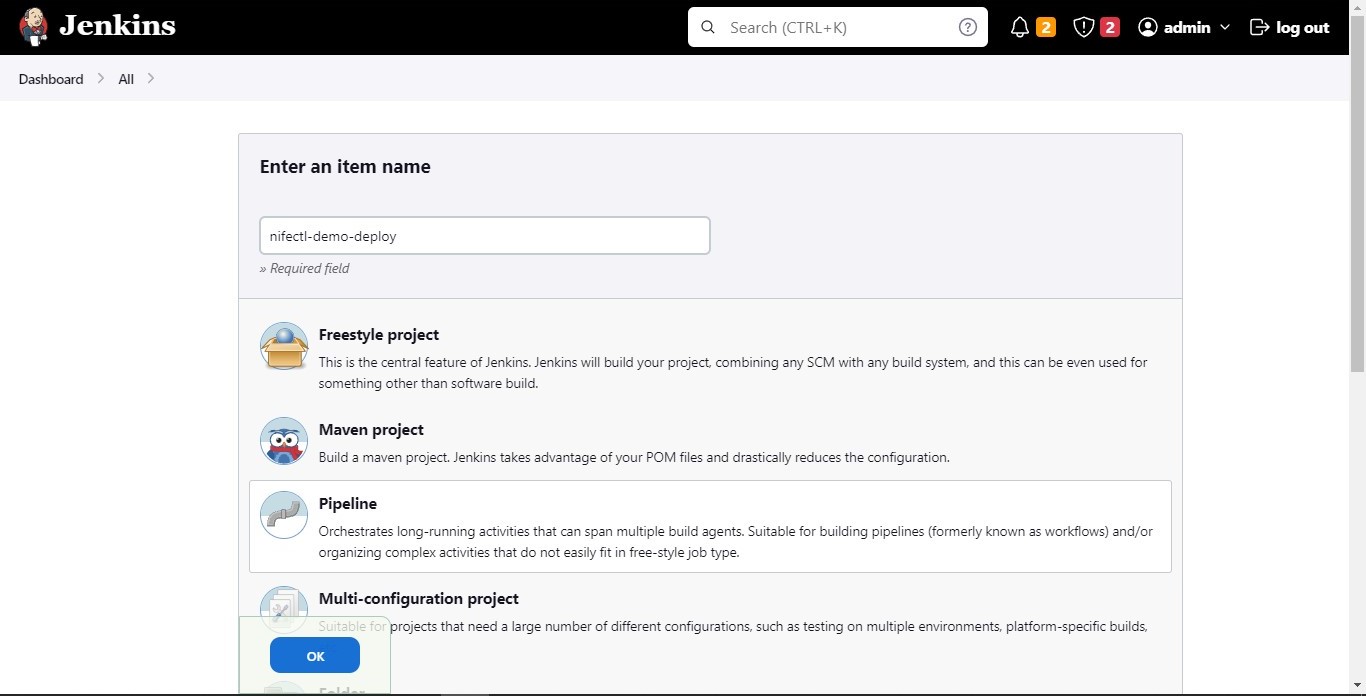
Step 1- Lets create our First pipeline. Click on New Item.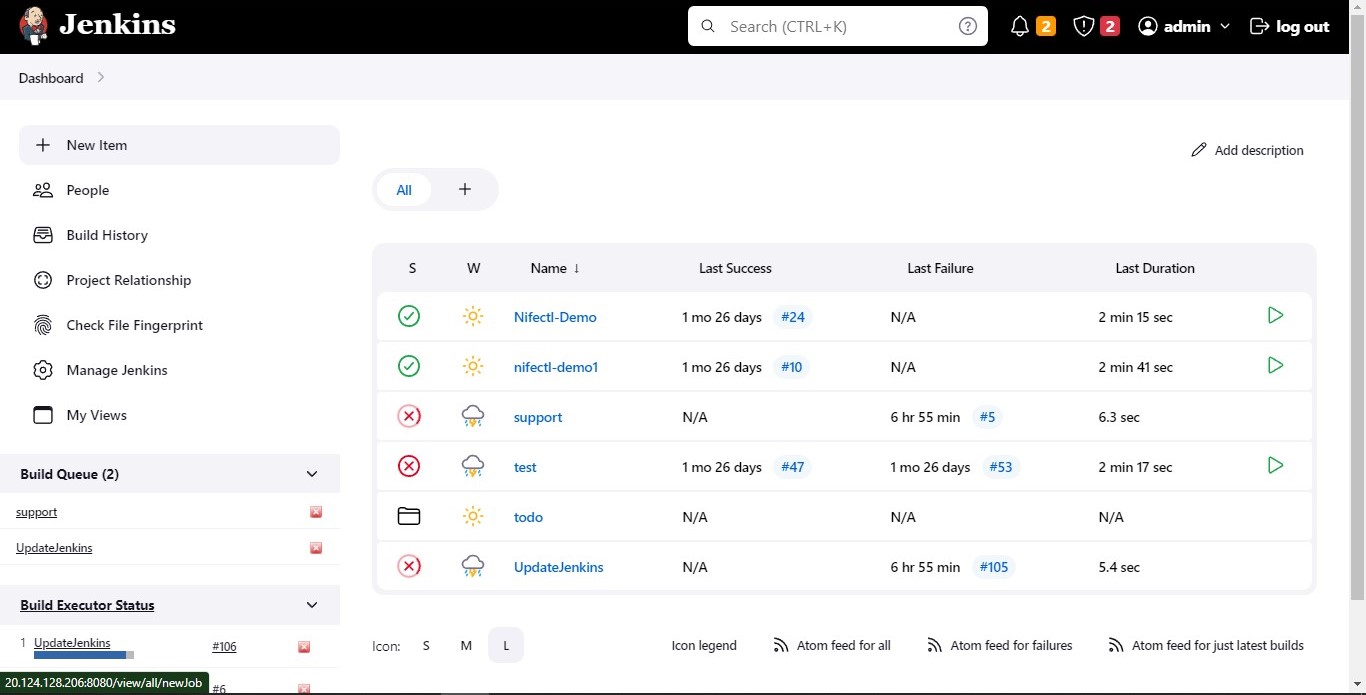
Enter a job name and select Pipeline as shown in the image below.
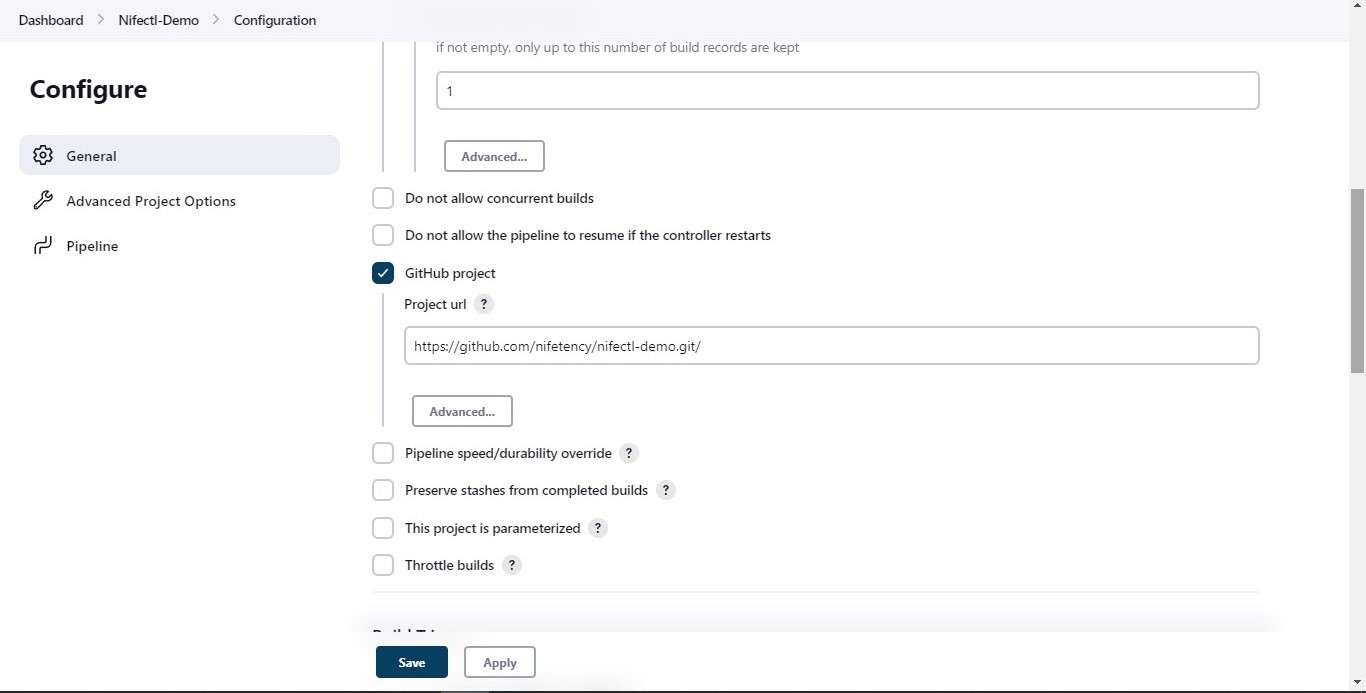
Step 2 -In the configuration page of Jenkins, enter the github repo URL.
Step 3 -In the pipeline section, we have written a pipeline script.
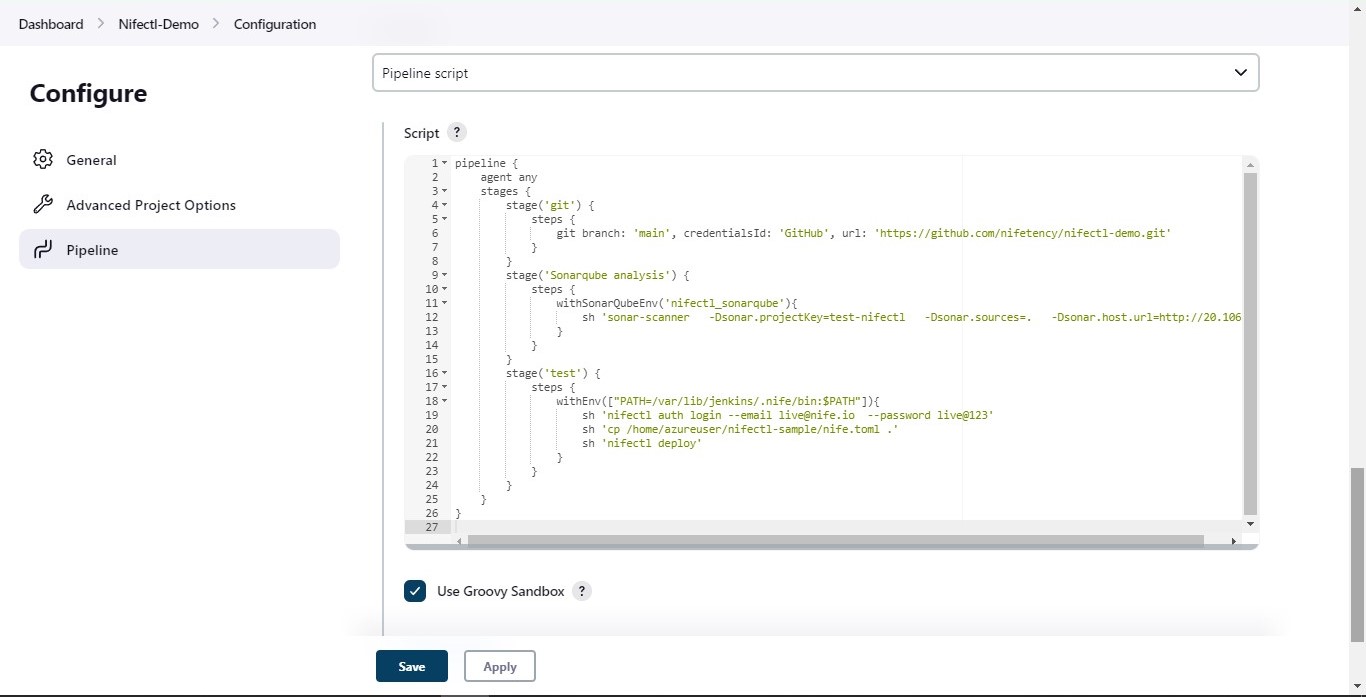
For Configuring with Nife
Prerequisite:#
- Before proceeding further we install nifectl with the command in the github actions.
- We need nife.toml file and an auth token.
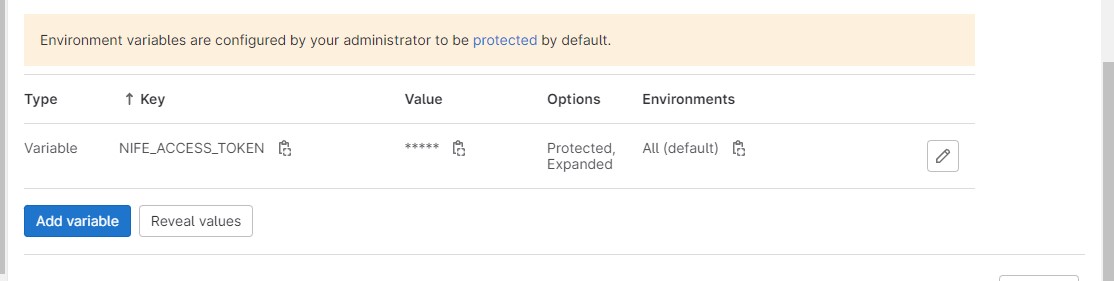
For the API token use nifectl, using the token previously logged with.
Run nifectl auth token and this will display the token your session. Use this token value into NIFE_ACCESS_TOKEN environment variables inside the deployment.
Ready to Deploy
We are now ready to build the job. On the Jenkins web UI, head to dashboard. You will see jobs and the deployment job running.
Now Click on the running badges to see the progress.
Job’s DoneAnd that’s pretty much for deploying with Jenkins CI/CD system. There’s lot more functionality in there allowing you to structure the pipeline as you want and trigger different jobs at different times.